A few moments on Pinterest looking at homemade gifts is enough to make the craftiest of us feel woefully inadequate. Pinterest is the place where bloggers use Christmas fairy dust to turn a pile of pinecones into a whimsical table centerpiece.
Where these bloggers get the fairy dust is unclear, as no stores carry it locally. Amazon also appears to be out.
A pile of pinecones, without it, remains a pile of pinecones.
“Pinterest fails,” they are called, and the internet is littered with them.
Yet the holidays call for carefully made, locally sourced, up-cycled goods. And so one has to search for an easy, thoughtful item to make the holidays cheerier for our friends and family.
Beeswax wraps have been tearing through Facebook groups like wildfire, as an easy and eco-friendly way to ditch Saran Wrap. Unlike plastic cling-wrap, they are easy to use and won’t get stuck on themselves or cut your fingers when you pull the wrap out. But beeswax wraps are wicked expensive online, with a three-pack setting you back $10-20.
After a couple of hours digging through Pinterest wins and Pinterest fails, this seems like a project for even the least crafty.
Enlarge

Photo by Amanda Smith
First stop, Mountain Rose Herbs, 152 W. 5th Avenue, to purchase an ounce of beeswax (1 oz., $4), jojoba oil (4 oz., $14.75) and copal resin (1 oz., $2). Chat up the people at the counter. They are very knowledgeable and can help you with even more tips for the project.
Then stop at MECCA, 449 Willamette Street, to grab some cotton fabric (or use your old sheets) to up-cycle (suggested price of $1-3). While you are at MECCA, look at snagging a paintbrush you can use solely for this art project. It is sticky and will ruin everything it touches.
This mix of natural products appears to be the best way to get cling and decrease cracking in the wraps. While most of the DIY recipes say to sprinkle the ingredients on the freshly cut fabric and place them in the oven at 185 degrees, many complain that the cloth gets gloppy and never properly mixes. Think mixing peanut butter and goopy jelly after it’s already on the bread.
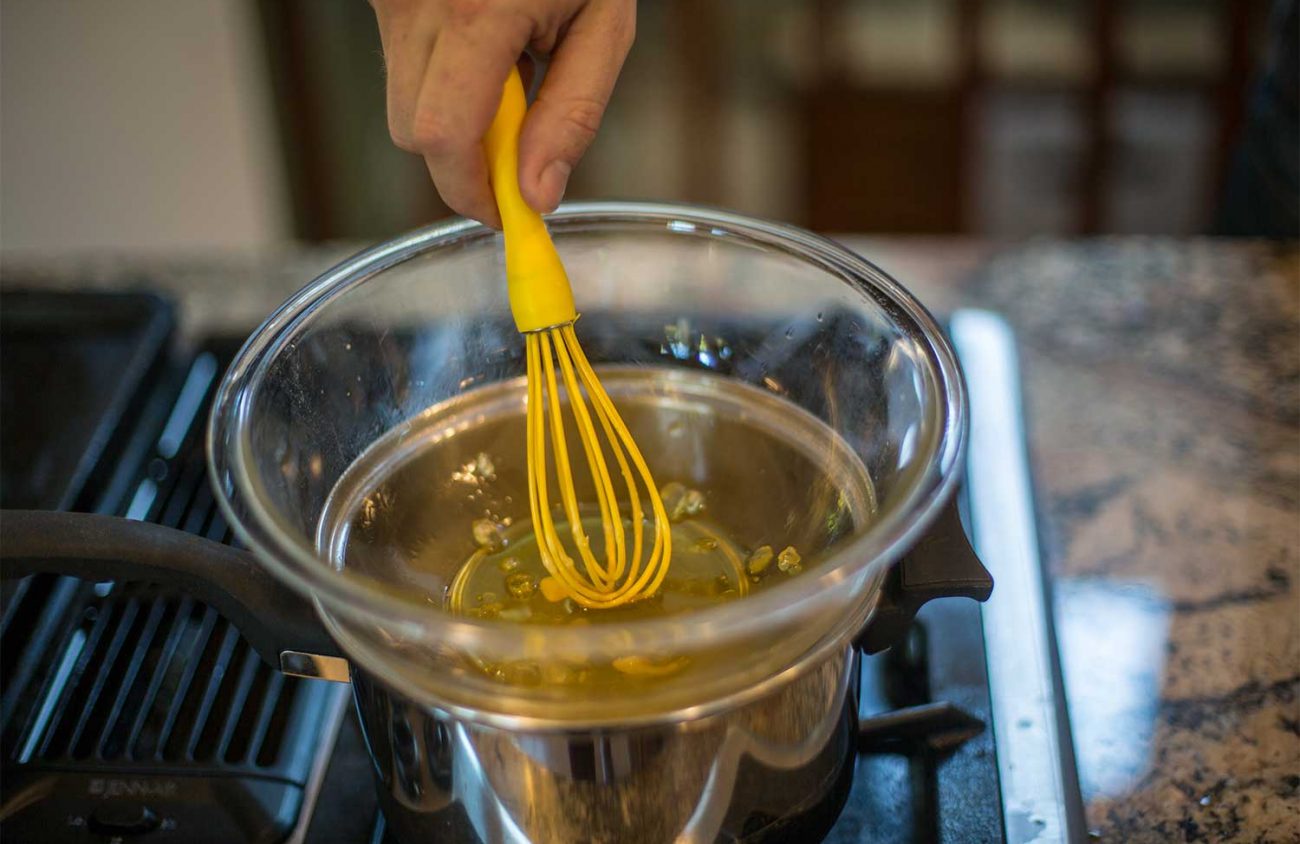
Instead, use a double boiler to heat the ingredients to allow for proper mixing. Yes, it appears trickier but a Pyrex bowl on top of a pot of boiling water will make the process easier and make noobs feel badass.
Or, if you already have your badass badge, use the double boiler you already own. Put the resin in first, as it will take about an hour for the hard rocks to melt into a consistency that can be mixed with the beeswax. Add your jojoba and beeswax and mix until smooth.
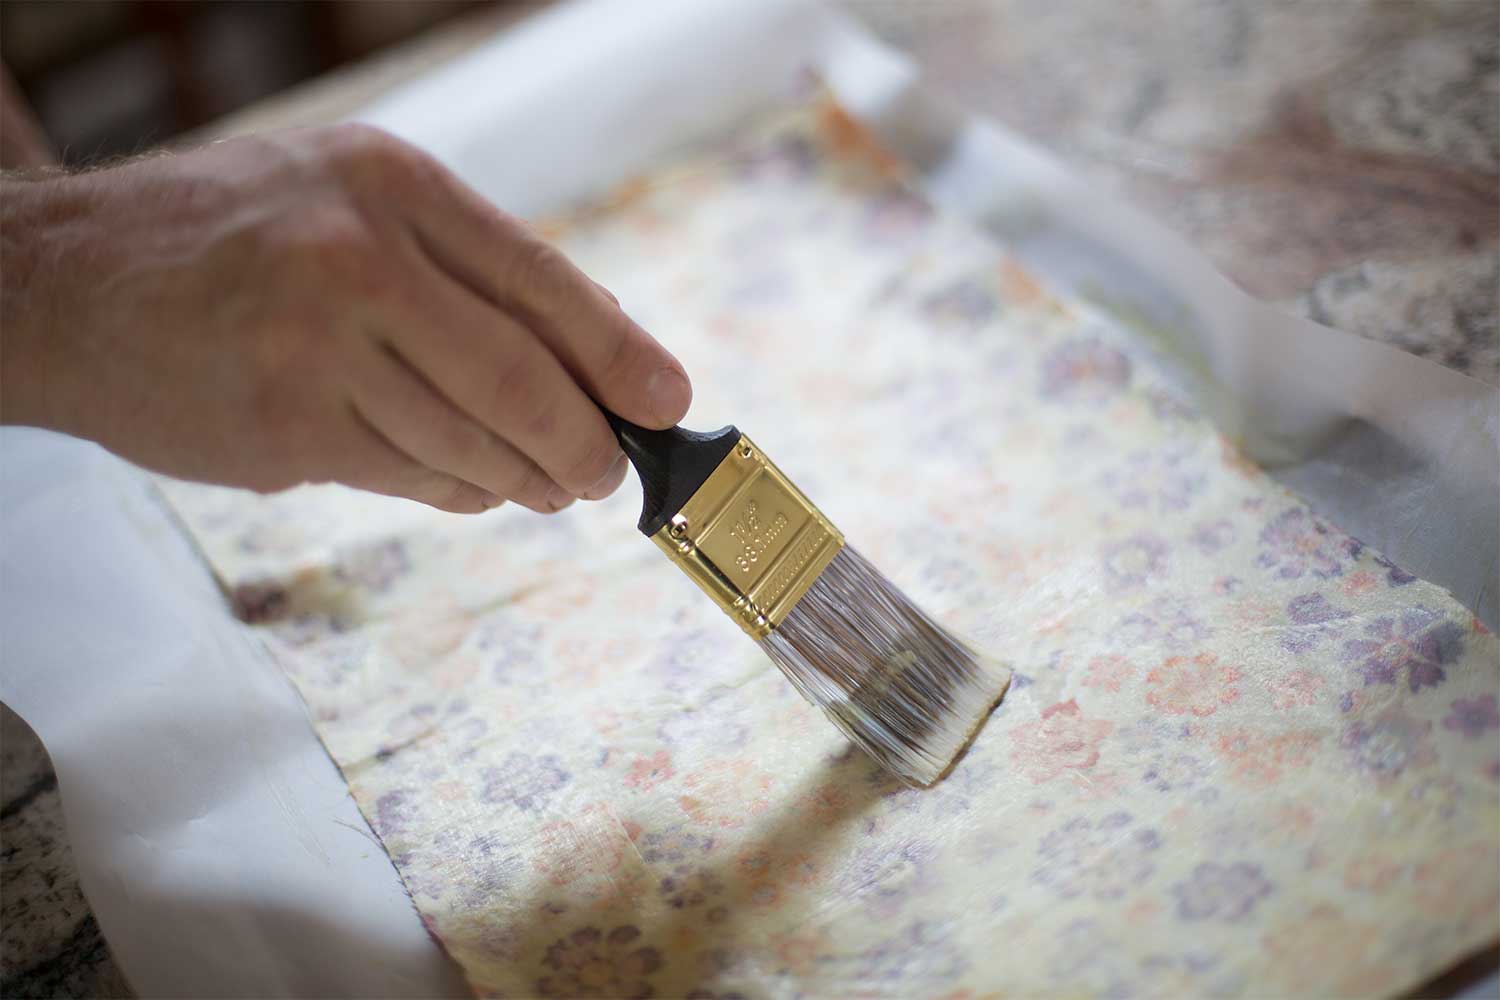
Once the ingredients are properly mixed, paint a thin layer of the mixture over your fabric pieces (for the sake of clean up, use a cookie sheet lined with parchment under the fabric). Place the wrap on the cookie sheet and then into an oven set to 300 degrees, let sit for five minutes in the oven, and then flip the wrap and bake for another five minutes. When finished, wave the wrap around until the beeswax sets a bit and hang to dry completely.
To wash, use cool water and a gentle soap.
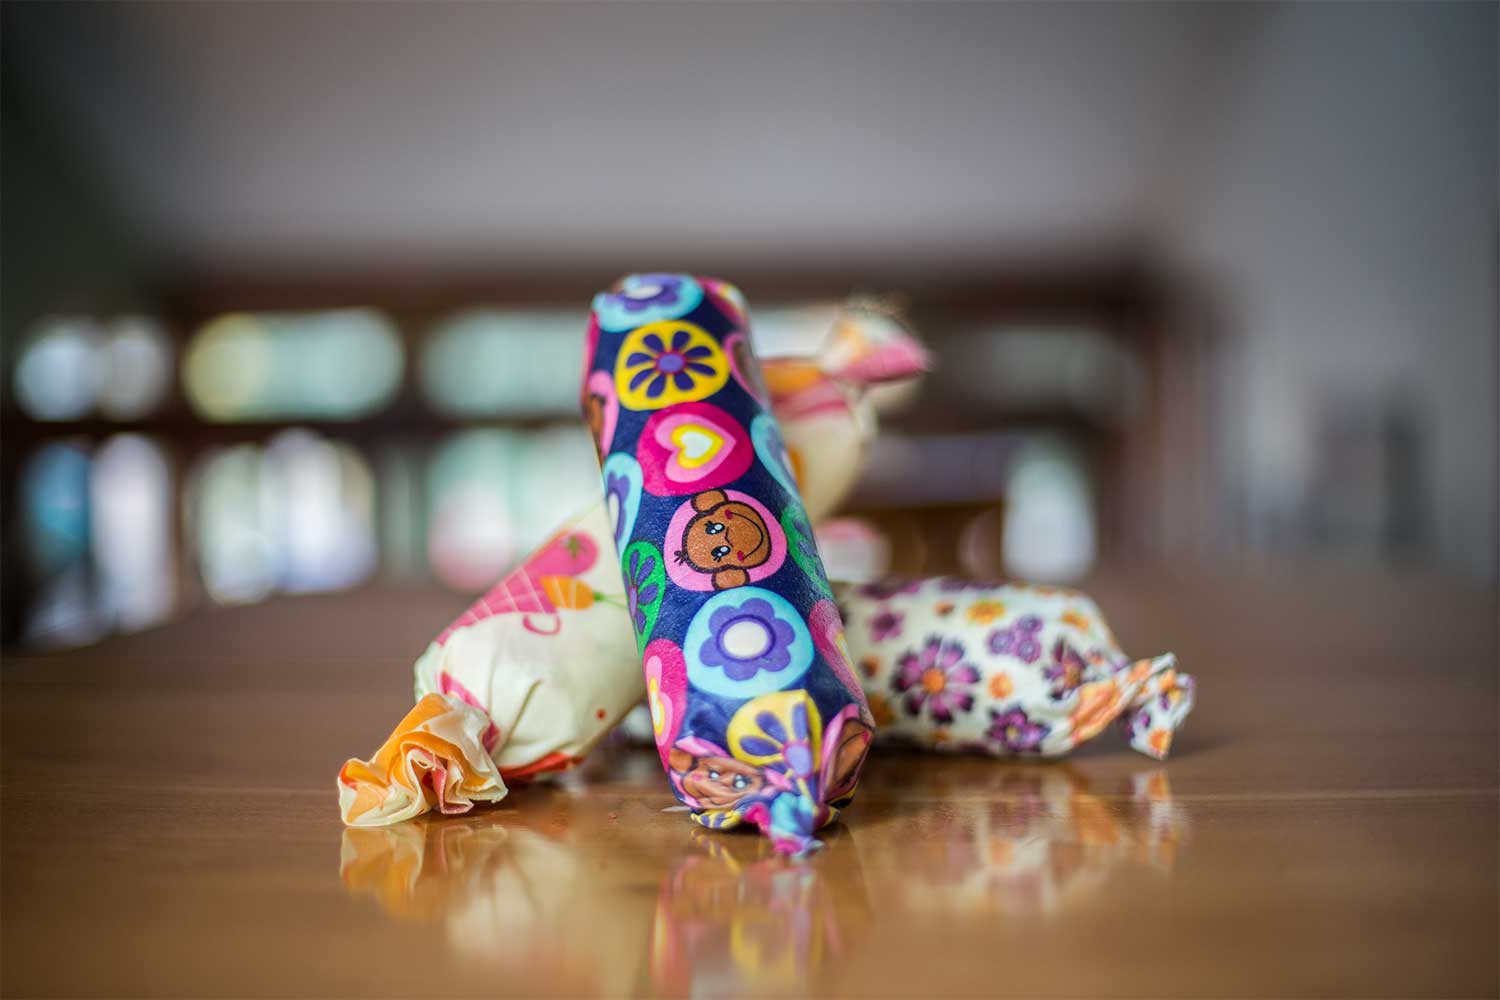
The beeswax wraps can be gifted in a box with a bow, wrapped around cookies or other treats, or you can make a quick sugar cookie recipe and wrap the dough log in the beeswax wrap. The wraps will keep the dough fresh in the freezer for up to three months.
#PinterestFail? Nope. #Winning.
Enlarge

Photo by Amanda Smith
Ingredients
2 oz. beeswax
1 tbsp. copal resin
2 tbsps. jojoba oil
Cotton fabric cut to size (use pinking shears to avoid fraying).
Place copal resin in double boiler, let melt until liquid (about an hour).
Add jojoba oil and beeswax and mix (use a popsicle stick to avoid ruining your favorite spoon) should combine in 10-20 minutes.
Use a paintbrush to lightly cover fabric with mixture.
Place cookie sheet with fabric on it in the oven at 300 degrees for 10 minutes, flip half way through.
Take the wrap out of the oven and pick it up by corners, wave until the beeswax has set up a bit, hang dry.
Clean with cool water and gentle soap.
